 Microsoft EntraID
Configure the Microsoft EntraID connector to retrieve users, authentication methods, and directory data
This document describes the procedure to configure the Microsoft EntraID connector for retrieving user, authentication, and directory information.
The EntraID and Intune connectors share the same Microsoft app registration. If you configure both, you only need to register the application once.
What You'll Get
This connector provides access to:
- Tenant ID: Your organization's unique identifier
- Application (client) ID: The app registration identifier
- Client Secret: Authentication credential for API access
Prerequisites
- Global Administrator access to Microsoft Entra ID
Information to provide in OverView
| Field | Description |
|---|---|
| API URL | Microsoft Graph API URL |
| Token URL | OAuth token endpoint URL |
| Tenant ID | Azure AD tenant ID |
| Application (Client) ID | Application client ID |
| Client Secret | Client secret value |
Parameters
These parameters are optional. Leave them at their default value unless you have a specific reason to change them.
| Parameter | Description | Default |
|---|---|---|
| Days to Retrieve | Number of days of data to retrieve | 90 |
| Retrieve User Licenses | Retrieve user license information | Enabled |
| Retrieve User Roles | Retrieve user roles information | Enabled |
| Include Users Without Device | Include users without devices | Enabled |
| Retrieve MFA Information | Retrieve multi-factor authentication information | Disabled |
| Excluded Device Models | JSON list of device models to exclude from import (case-insensitive, e.g. "HP", "Meraki", "Canon") | — |
Configuration Steps
Step 1: Register the Application
- Go to Microsoft Entra admin center with a Global Administrator account
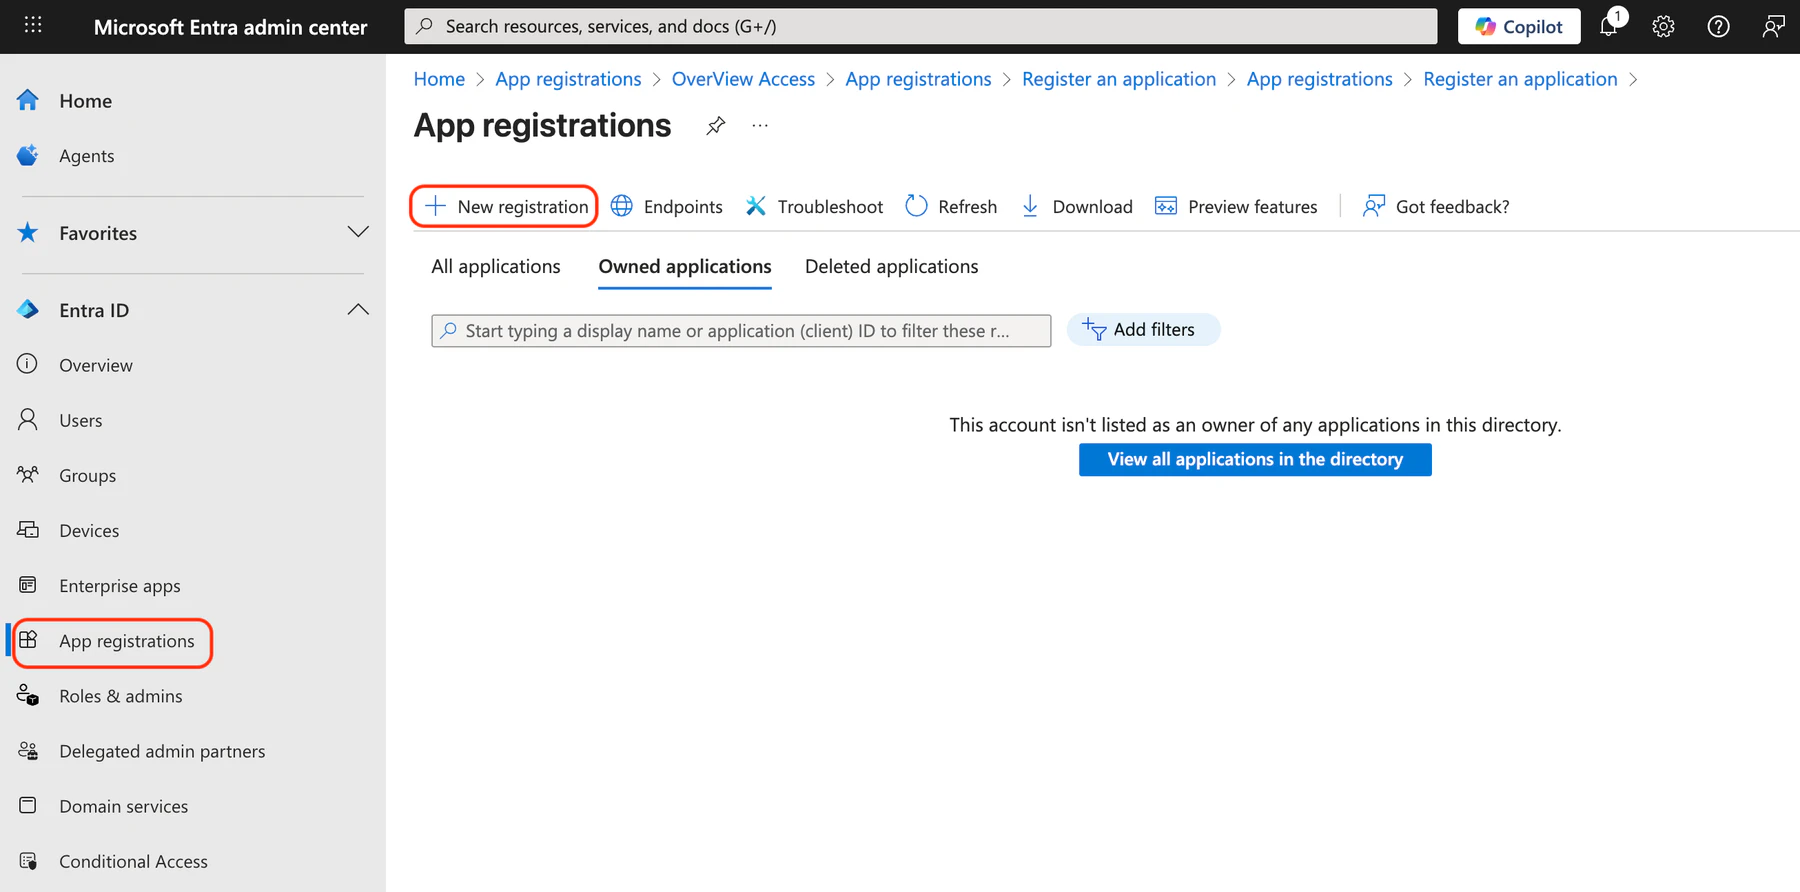
- Navigate to Entra ID > App registrations
- Click + New registration
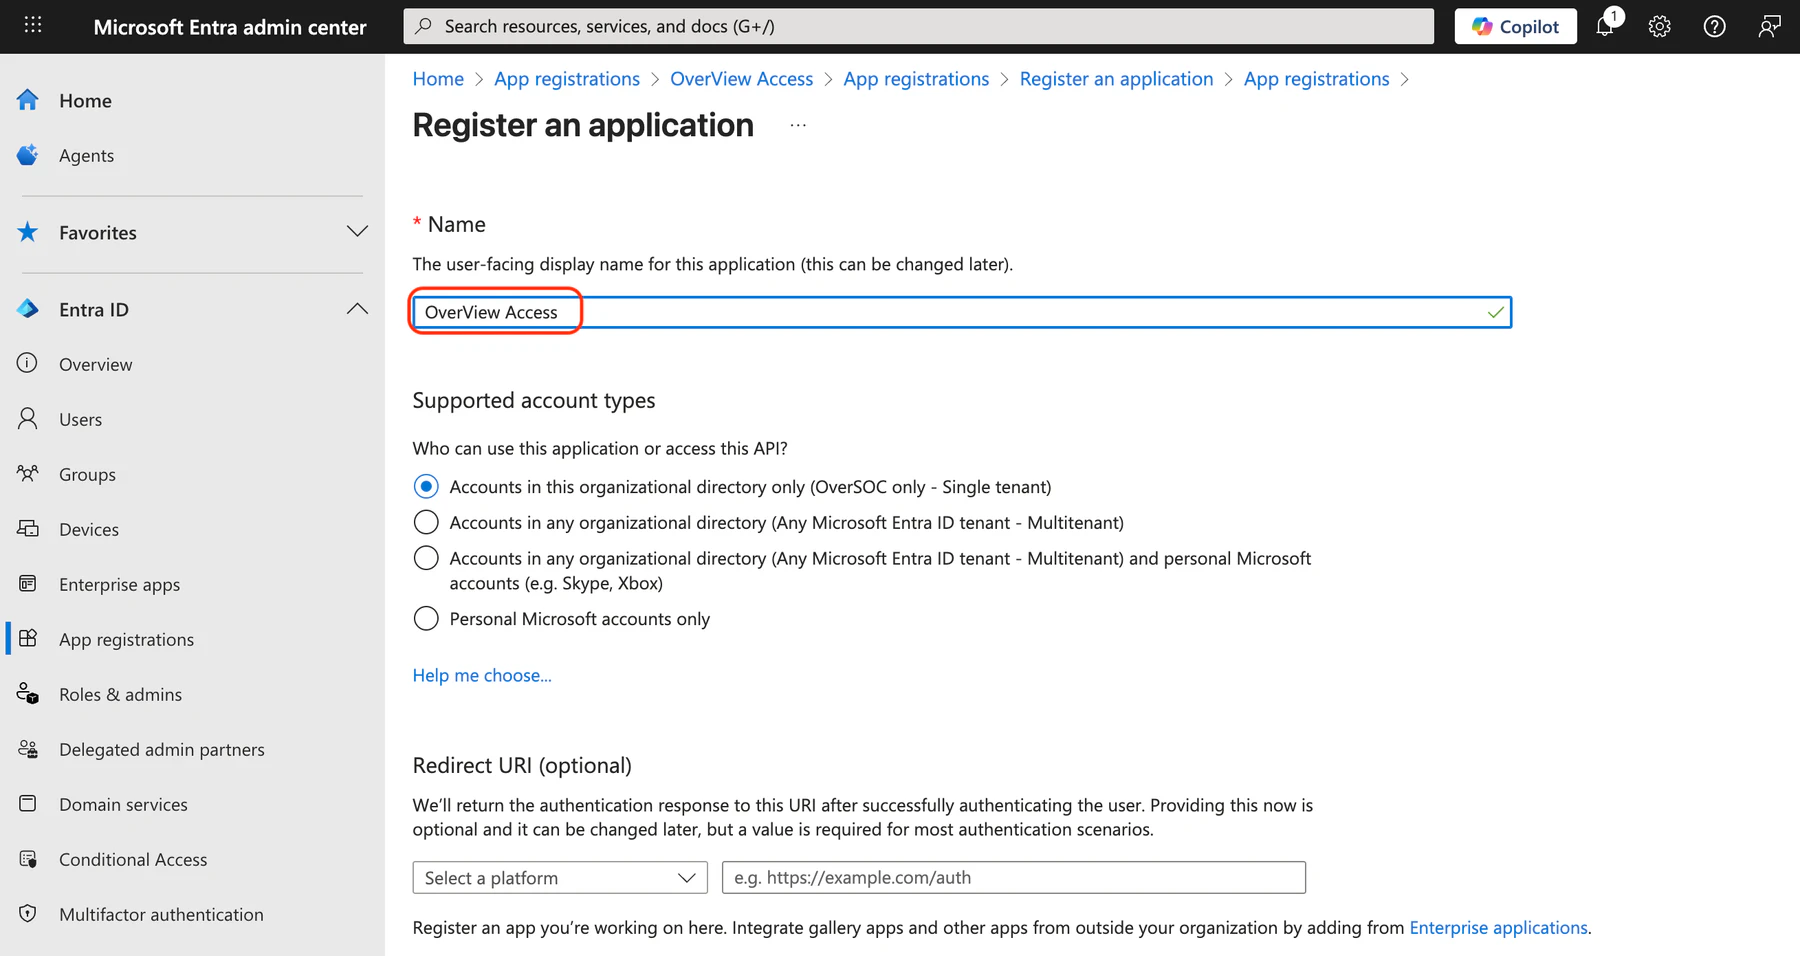
- Fill in the registration form:
- Name:
OverView Access - Supported account types: Select Accounts in this organizational directory only
- Click Register
- Name:
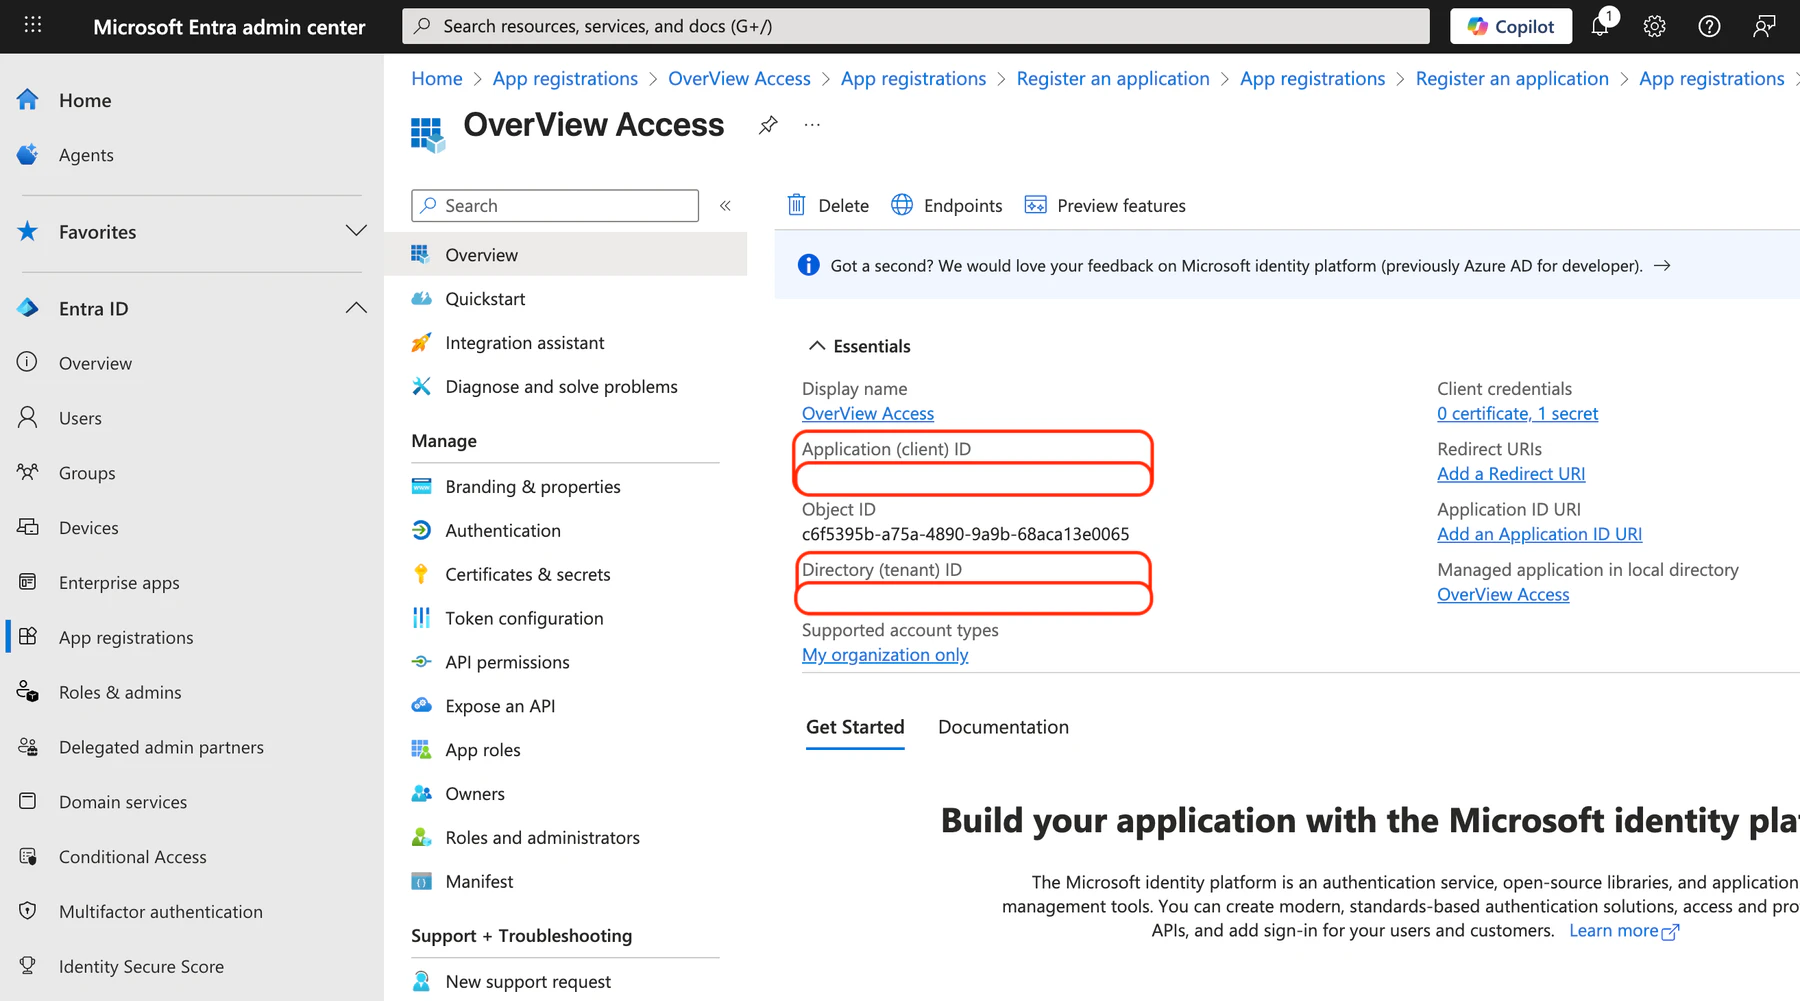
- Save the IDs displayed on the Overview page:
- Application (client) ID
- Directory (tenant) ID
Step 2: Create Client Secret
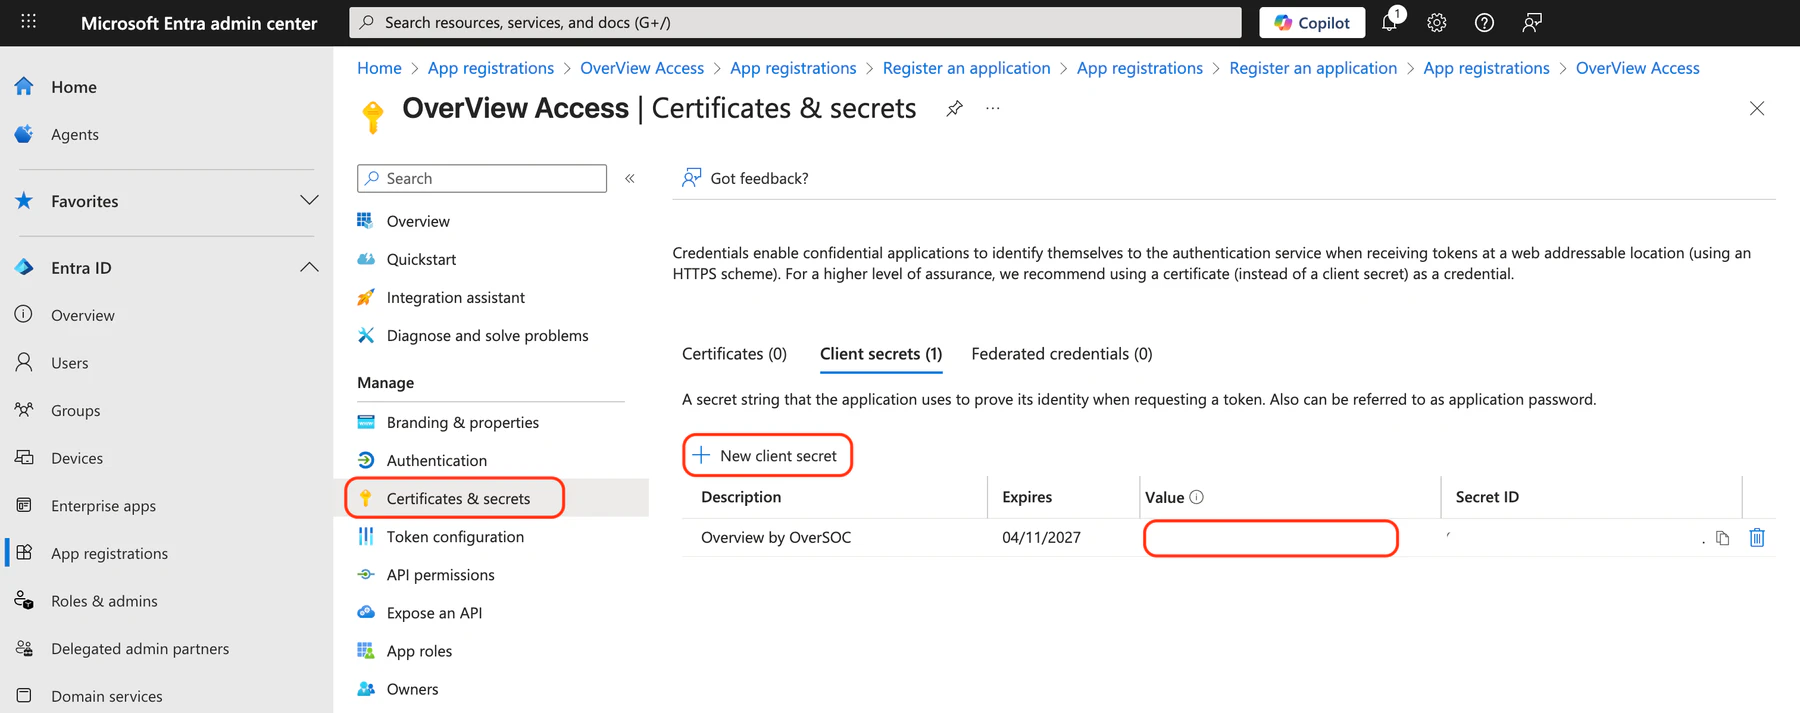
- In your app registration, go to Manage > Certificates & secrets
- Under Client secrets, click + New client secret
- Configure the secret:
- Description:
OverView Access Secret - Expires: Choose appropriate duration (recommended: 24 months)
- Click Add
- Description:
- ⚠️ Important: Copy the Value immediately—it will only be shown once
Step 3: Configure API Permissions
- Go to Manage > API permissions
- Click + Add a permission
- Select Microsoft Graph > Application permissions
- Add the following permissions:
User & Authentication:User.Read.AllUserAuthenticationMethod.Read.All
Device Management:Device.Read.AllDeviceManagementApps.Read.AllDeviceManagementConfiguration.Read.AllDeviceManagementManagedDevices.Read.AllDeviceManagementServiceConfig.Read.All
Directory & Audit:Directory.Read.AllDomain.Read.AllAuditLog.Read.All
- Click Add permissions after adding all the permissions above
- Click Grant admin consent for Your Organization and confirm by clicking Yes
- Verify that all permissions show status Granted for Your Organization with a green checkmark
Summary
You should now have:
- ✅ Application (client) ID
- ✅ Directory (tenant) ID
- ✅ Client secret value
- ✅ API permissions granted
Configuration Details
When configuring the OverView EntraID connector, the default URLs are:
- Token URL:
https://login.microsoftonline.com/ - API URL:
https://graph.microsoft.com/v1.0/
If your environment requires different URLs (e.g., sovereign clouds), specify them during connector configuration.
Alternative: file import through DropPoint
The API access described above is the recommended method for this connector. Where it is not available (a segregated network, a version or licence without API, an export you already produce), OverView accepts file exports, to be uploaded to the bucket dedicated to Microsoft Entra ID.
Bucket : s3://entraid/
Example : s3://entraid/export.csv
The procedure is described in the OverView DropPoint guide: generating credentials, configuring the client, then sending files from the OverView web interface, the AWS CLI or an SDK. Its examples come pre-filled with this bucket when you follow this link.